
There are few home improvement projects more important than replacing your roof. It is the first line of defense to protect not only your home but also all the contents.
Most people are not aware of all that is involved when scheduling this type of job.
Being prepared and knowing what to expect will make the process go smoother for your family and the contractor.
Here are the basic steps for a new roof installation.
Before the Install Begins
There will need to be some preparation inside your home before the new roof process begins outside. The combination of the work being performed as well as the workers on the roof may cause debris or dust to fall into the attic. If you have valuable items stored there, it is a good idea to cover them for protection.
You should also remove pictures, decorative items, and light fixtures hanging on the walls or from the ceilings. The hammering and movement on the roof will create vibrations that might cause certain items to become loose or fall. As another note, the vibration can also activate burglar alarms. You should turn them off while the work is being done.
If you are sensitive to noise, you should invest in earplugs to help with the noise created by the hammers.
On the day the work begins, park your vehicle away from the house and make sure all loose items like patio furniture or potted plants are also moved. Cover any pool, pond or other outdoor fixture to protect from falling debris. Keep pets inside or secured away from the work site.
New Roof Installation
Some people try to get away with re-roofing a house, but this is not recommended.
The entire process takes from about 3 days to a week, depending on the size of the roof and the weather conditions when scheduled.
The first thing the crew will do is remove the existing shingles and any damaged drip edging and flashing.
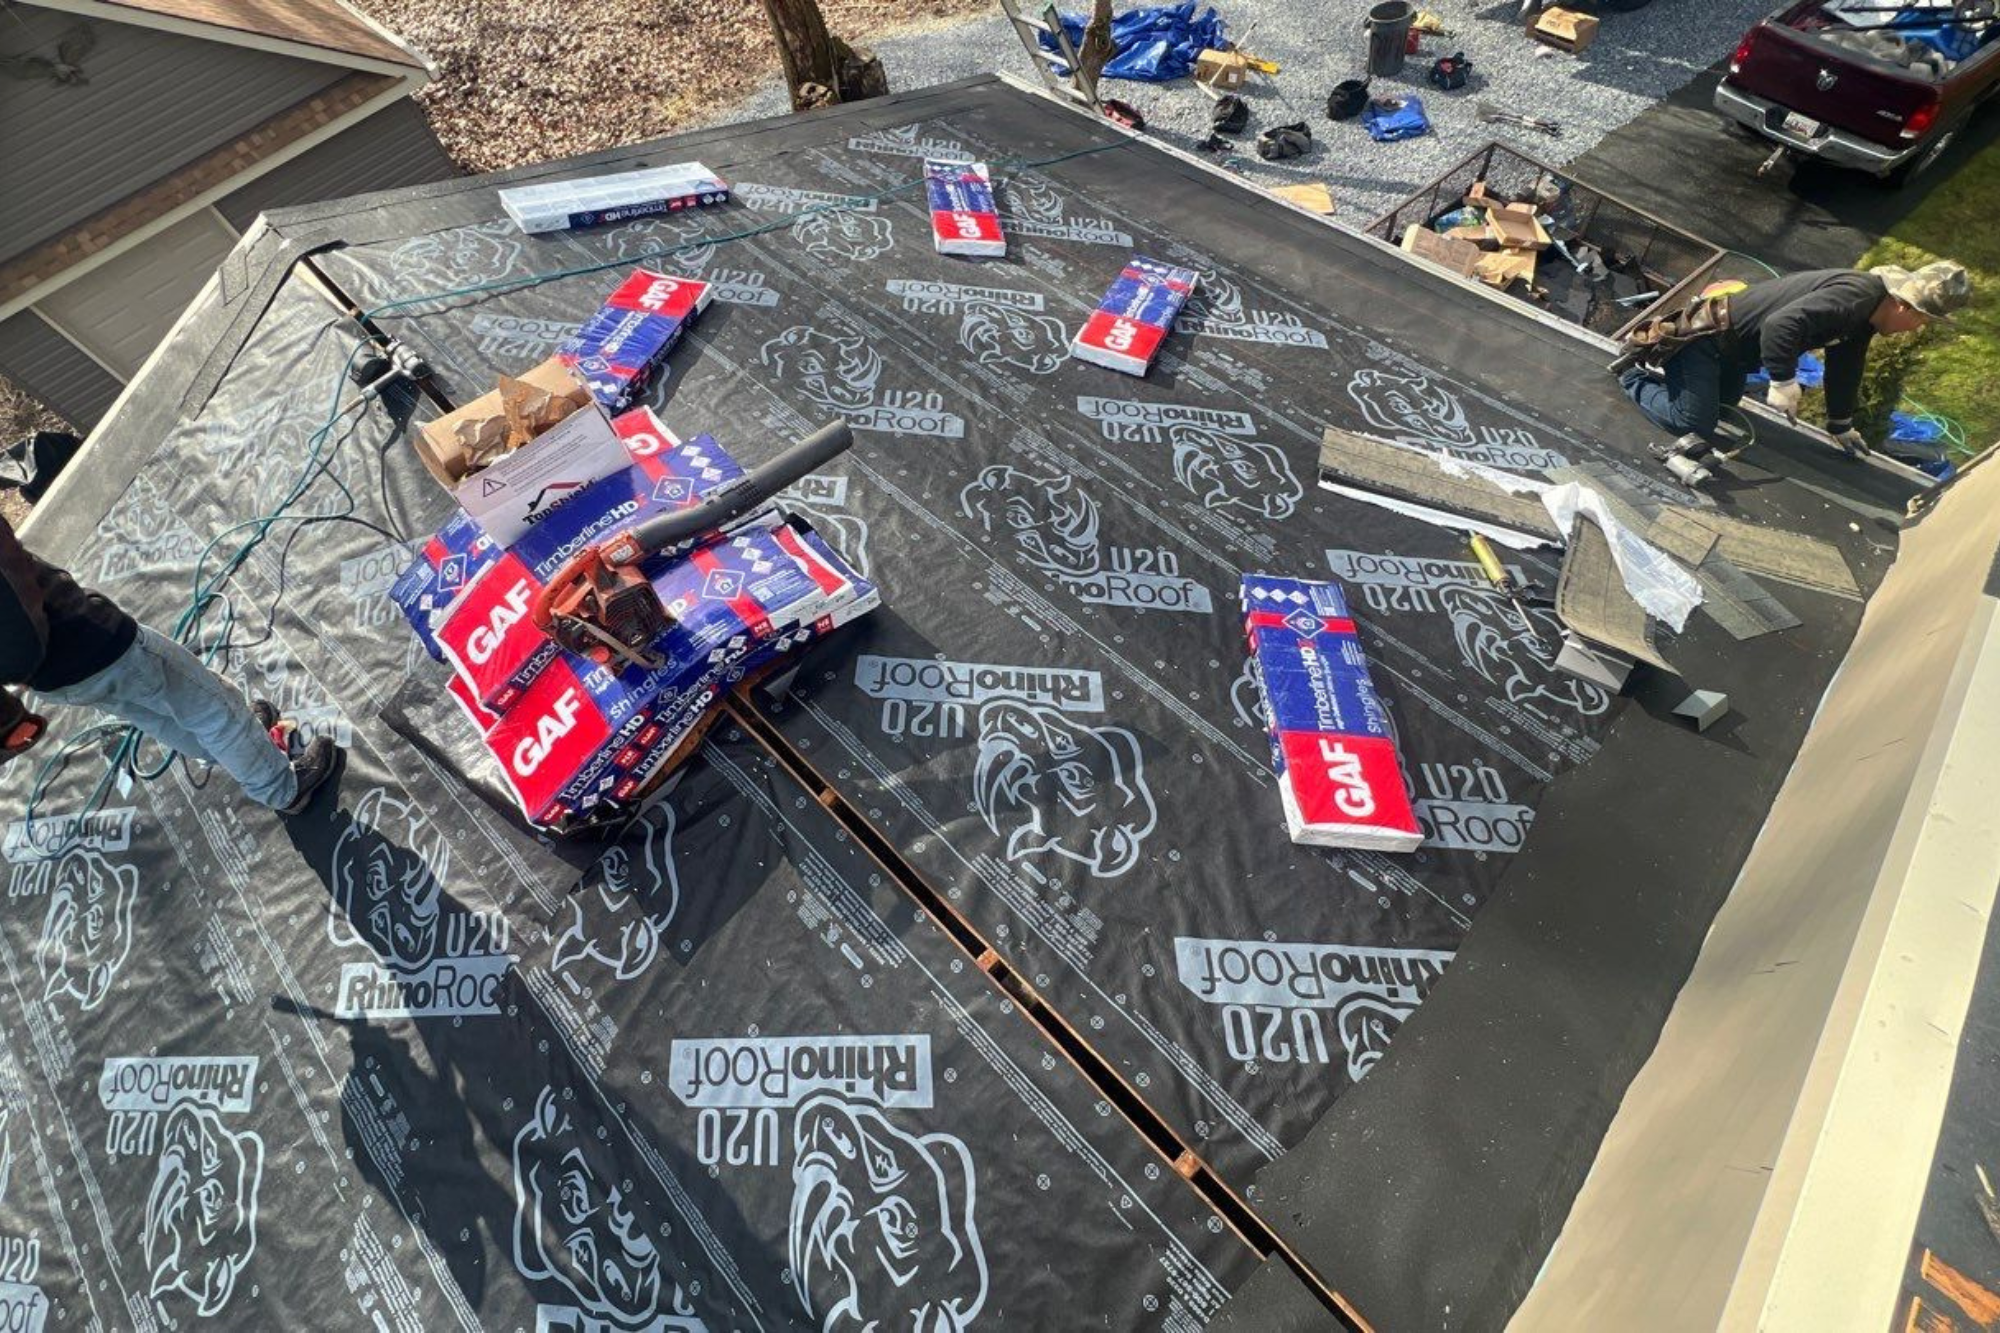
After the shingles are removed, any required repairs are completed. Your roof may need patching or replacing with new plywood. Ice dam protection is then installed in the areas where it is required. This is a waterproof material that is a barrier from melting ice that can back up water under the shingles.
The roofing paper comes next. This is another layer of protection against moisture getting inside your home. The roofing paper is put down in rows and is overlapped for added security and is stapled or tacked in place.
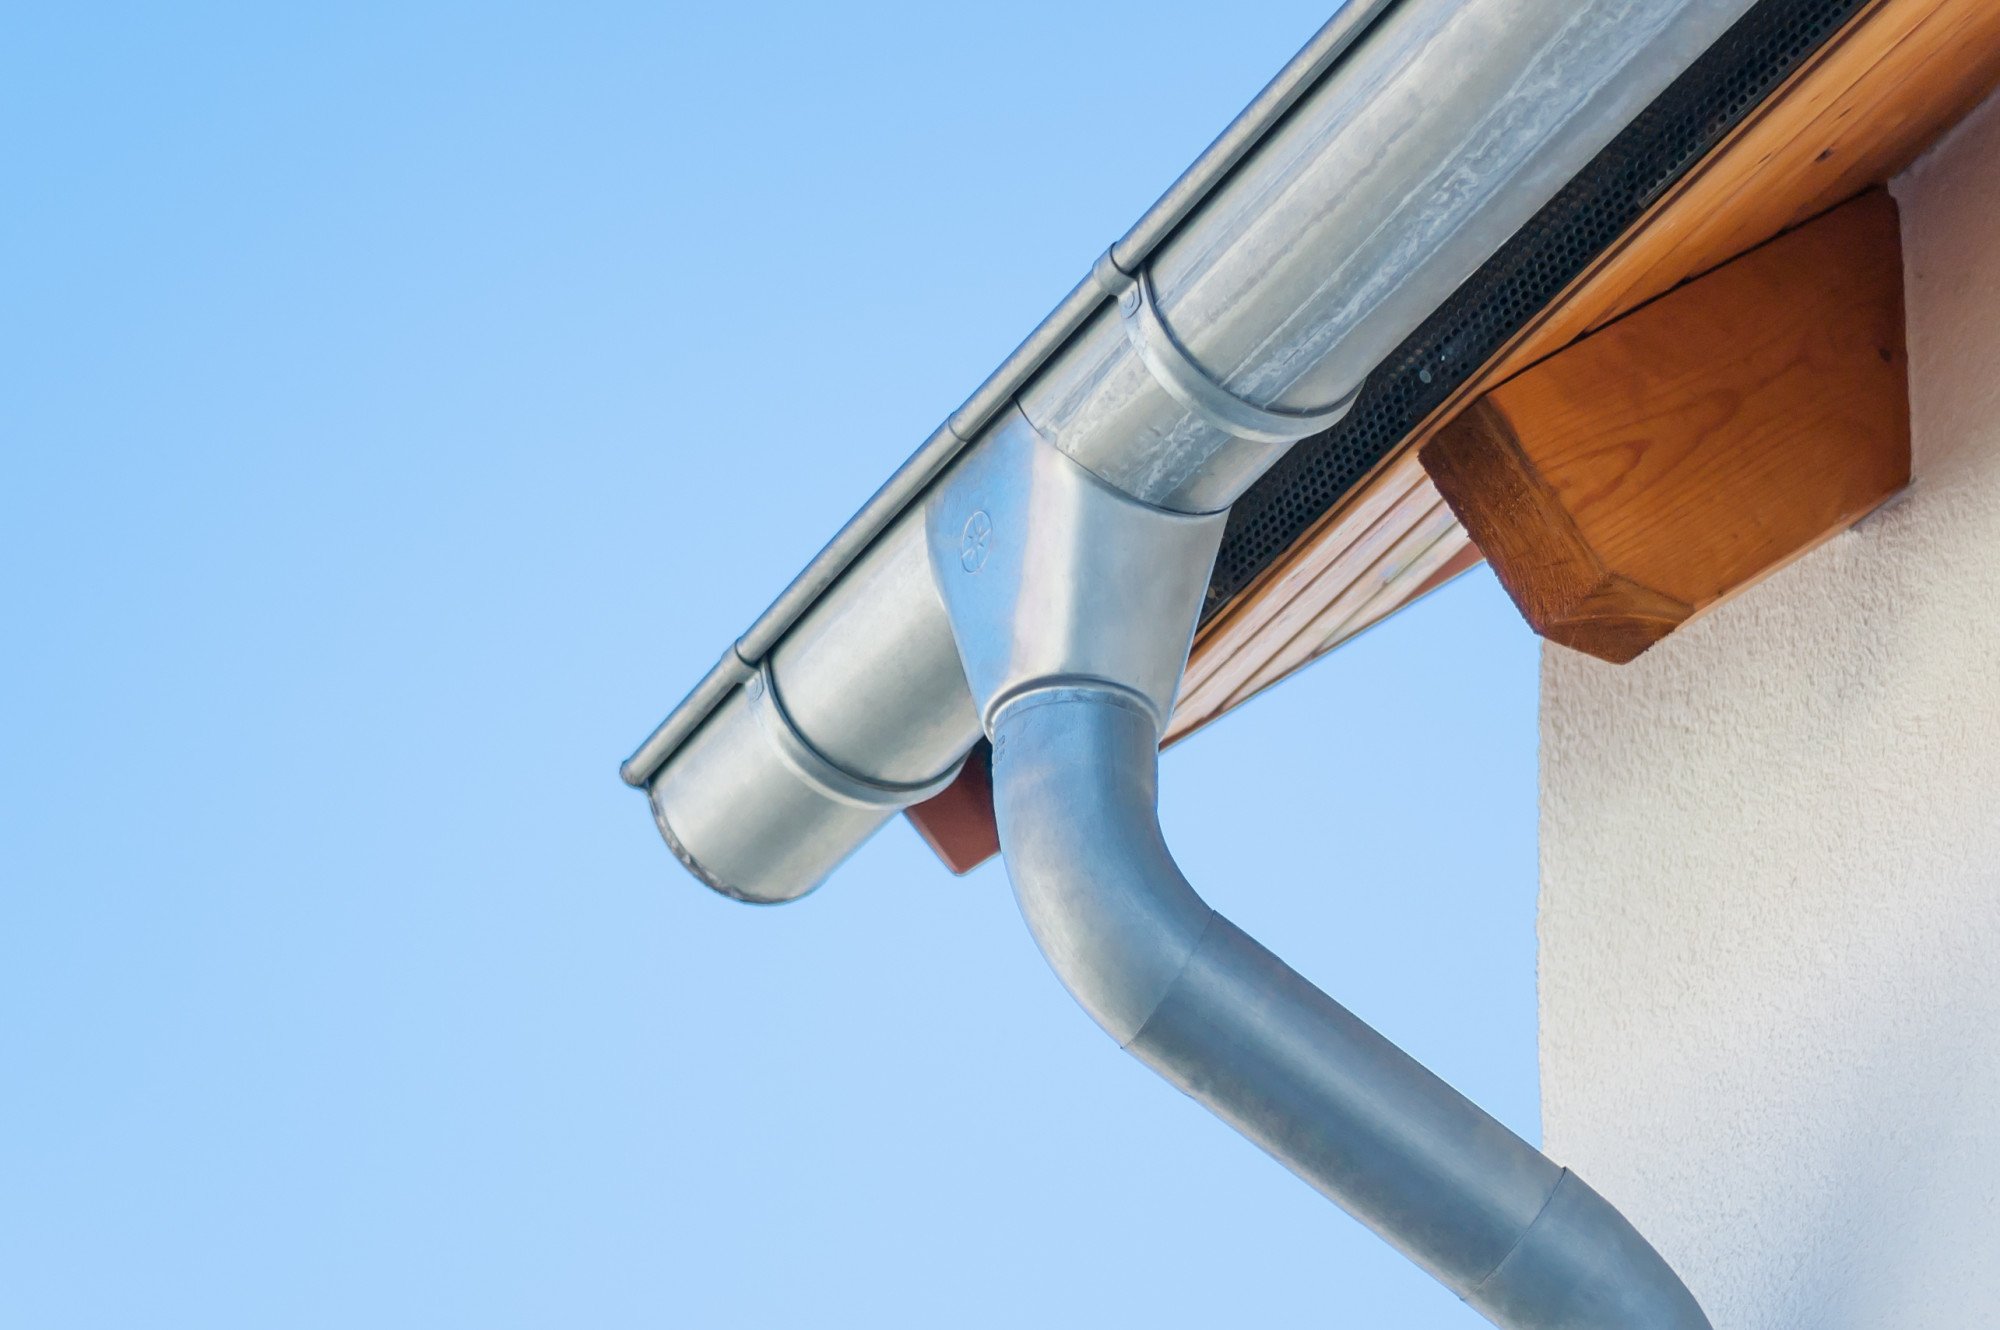
After the roofing paper comes the metal drip edging. This goes all the way around the edge of your roof. New valley flashing is then applied where the two roof planes join. This is usually nailed down and then sealed with caulk.
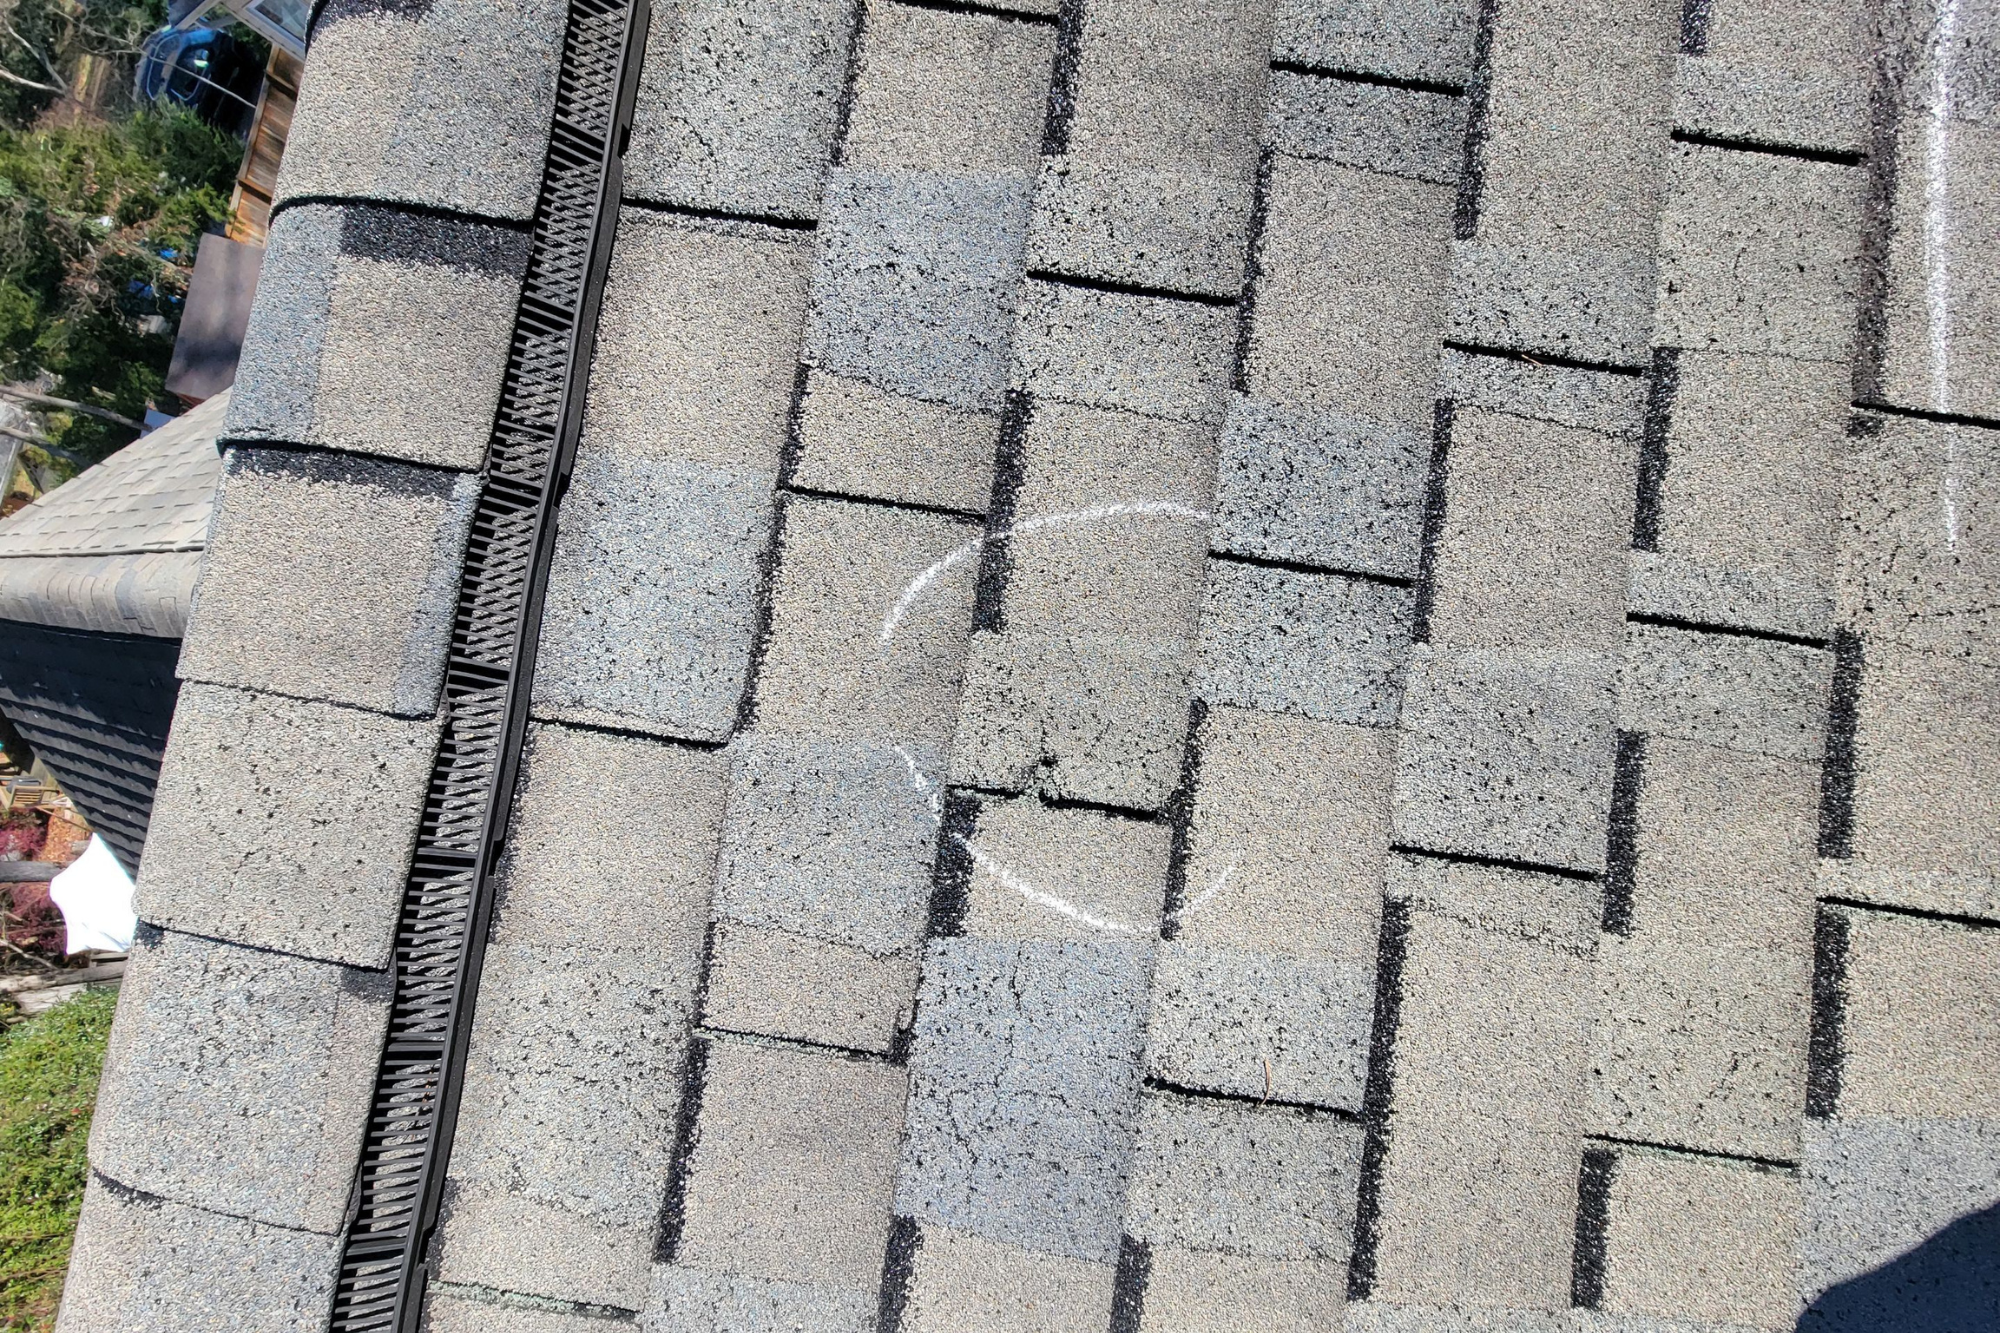
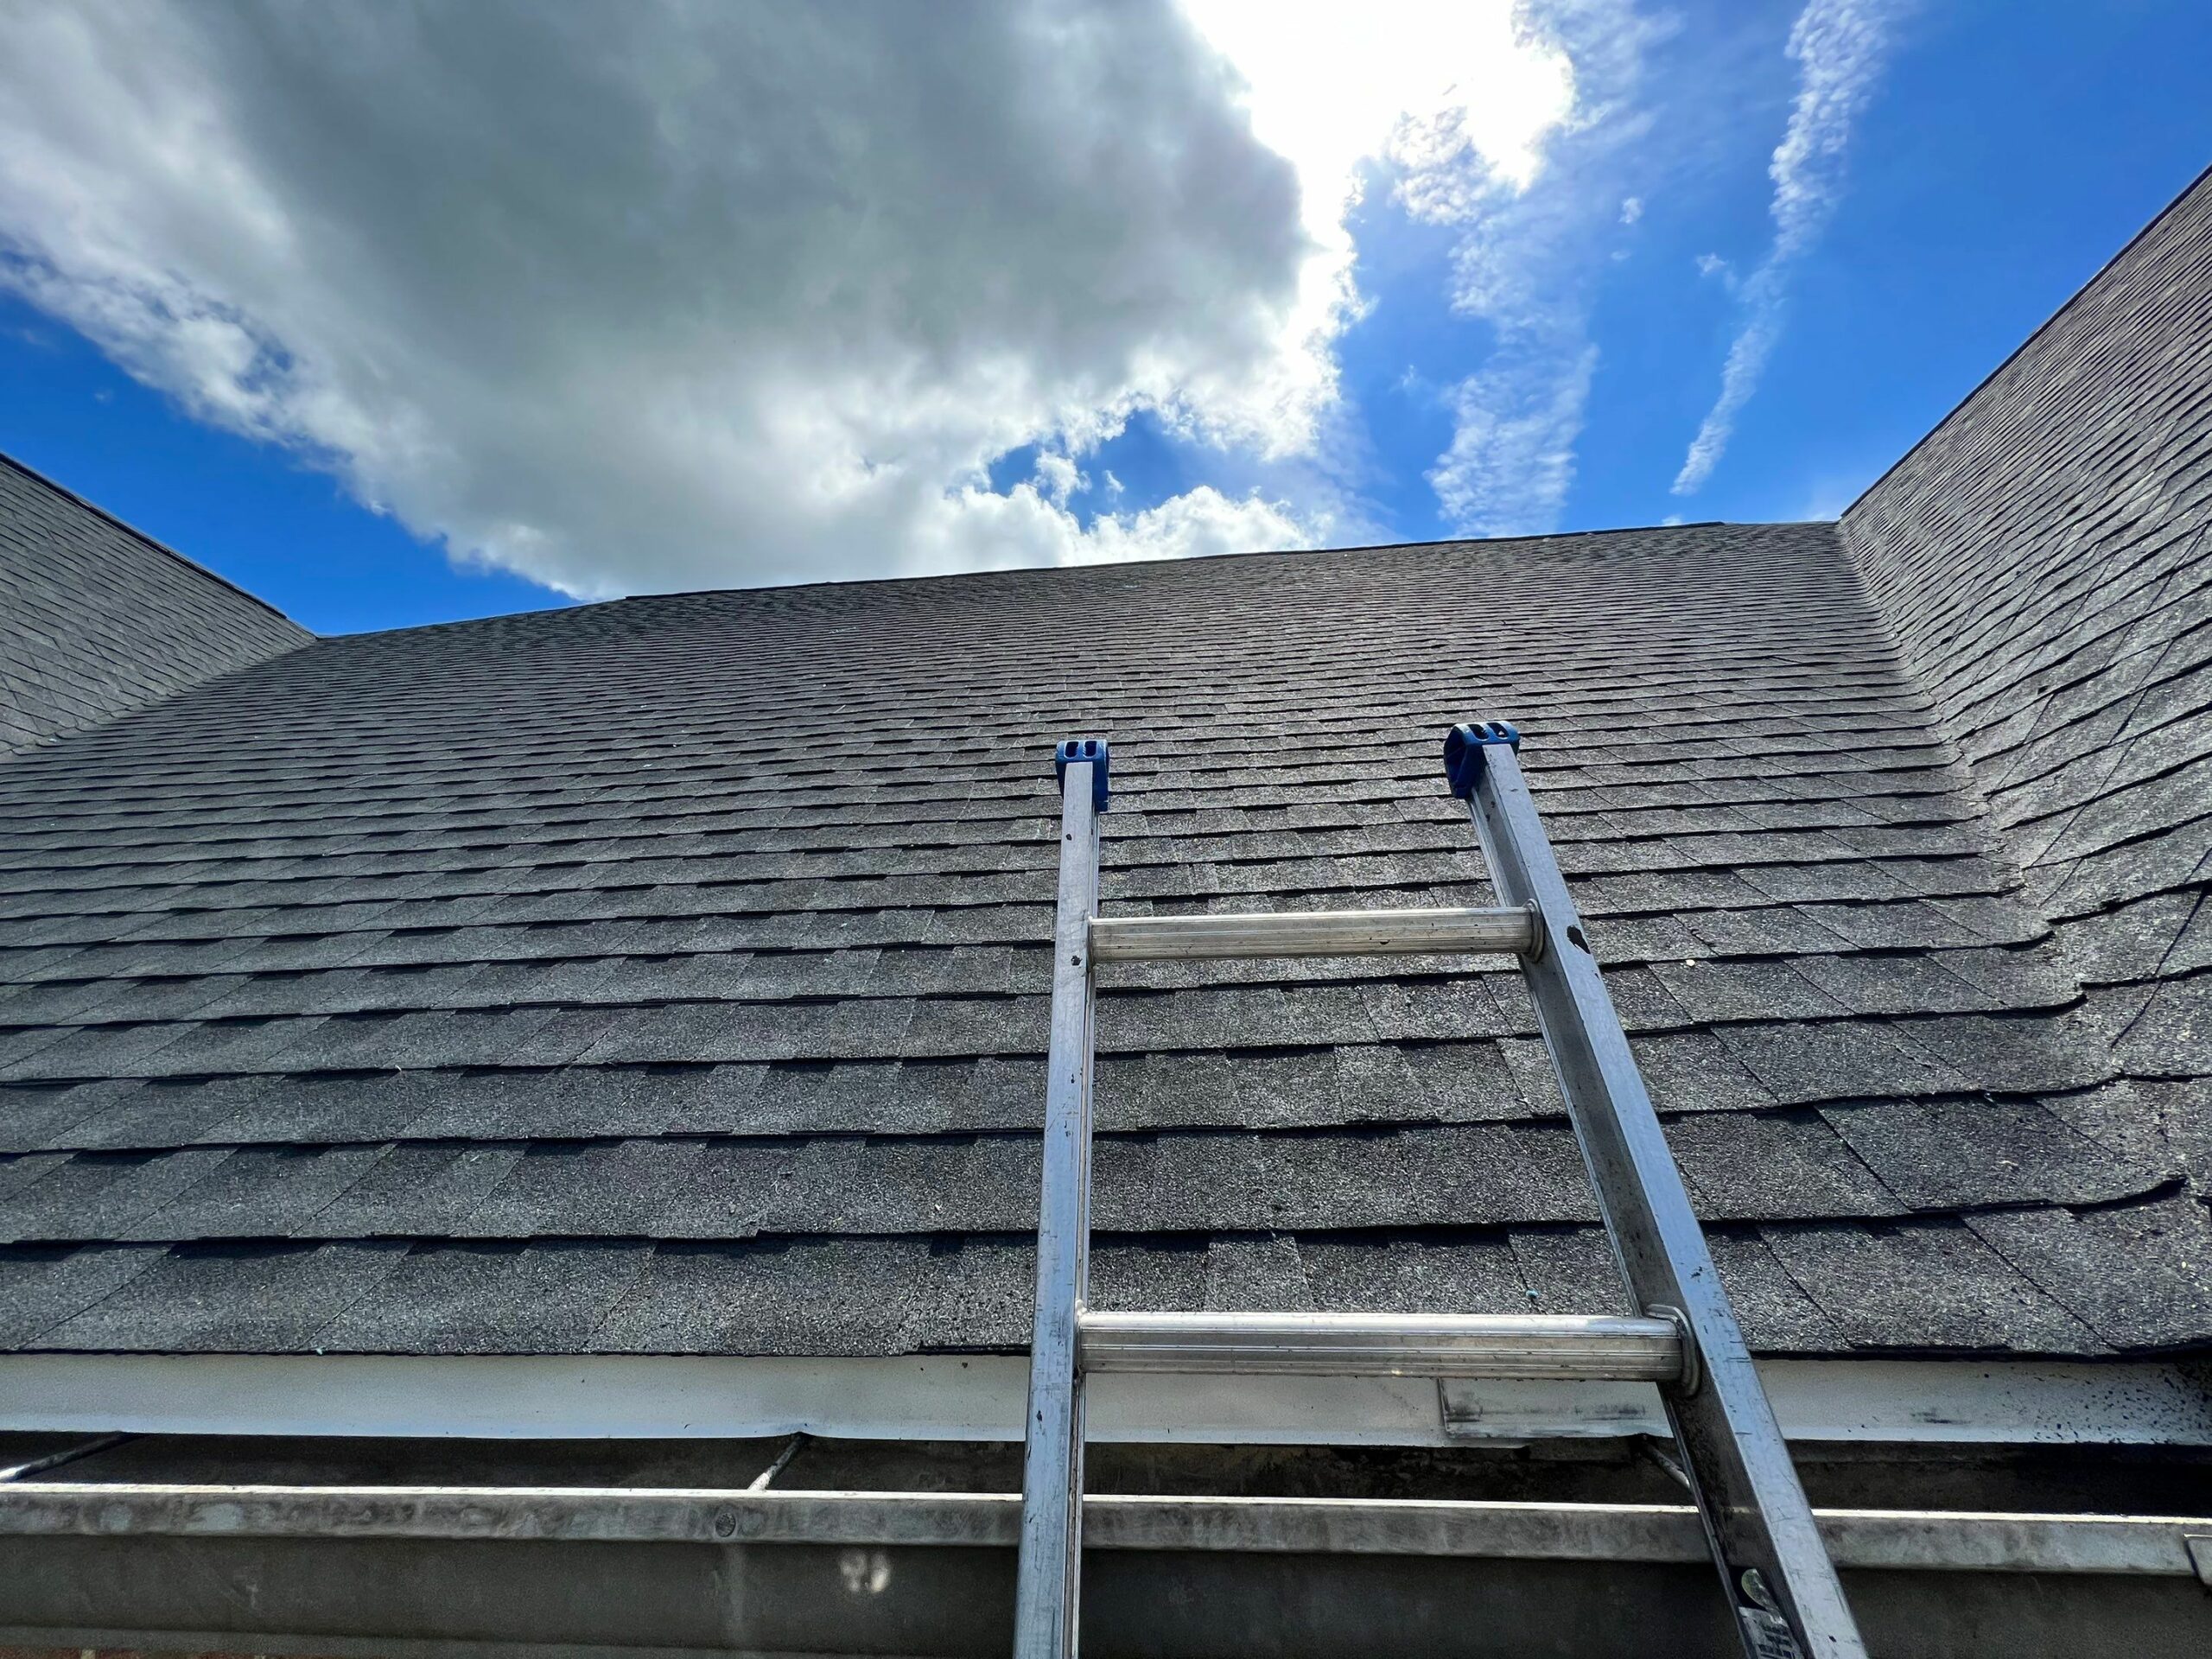
The shingles come next. The type of roofing material you use will depend on your personal style, budget, and even the area where you live.
The workers will start at the eaves and work up towards the peak. Flashing is applied anywhere water can get into the house; the chimney or vents.
The ridge vent is the last thing installed. This is a vent that goes along the entire peak of your roof and helps to circulate air in the attic. This works to expel hot air and also prevents ice dams.
The Cleanup
When the work is completed, the crew is responsible to pick up all debris and extra materials. They are to return the area back to its original state.
Powerful magnets are used to sweep the ground to make sure all nails are picked up and removed. It is still a good idea to use caution when walking around at first just to be on the safe side.
Your New Roof
Having a new roof installation is a big task, but it is necessary to protect your home and the valuable contents inside.
It will also provide a beautiful look to the exterior of your home, as well as increase the value.
For more information on how we can help you with this home improvement project, contact us by calling 443-214-2533 or sending an email today!
Contact Us